National Quilting Month
Happy National Quilting Month! Yes, the month of March has been designated by someone’s Aunt Edna as a nationwide celebration of my favorite artsy crafty project and yours - - quilting! In honor of this very special occasion, this post will be more educational than most, a sort of “everything you always wanted to know about quilting, but were afraid to ask.” Or maybe you didn’t ask, out of lack of interest, but after reading this, I am sure you will be so excited about quilting, you’ll be buying a longarm and stocking up on fat quarters like crazy. Or that’s just me… OK you may find a lot of this WAY outside your wheelhouse and you may say to yourself, “why am I reading this?” or “why did I subscribe to this stupid blog again?” but maybe it’s an opportunity for personal enrichment. Or at least you can understand why a handmade quilt can cost a bundle.
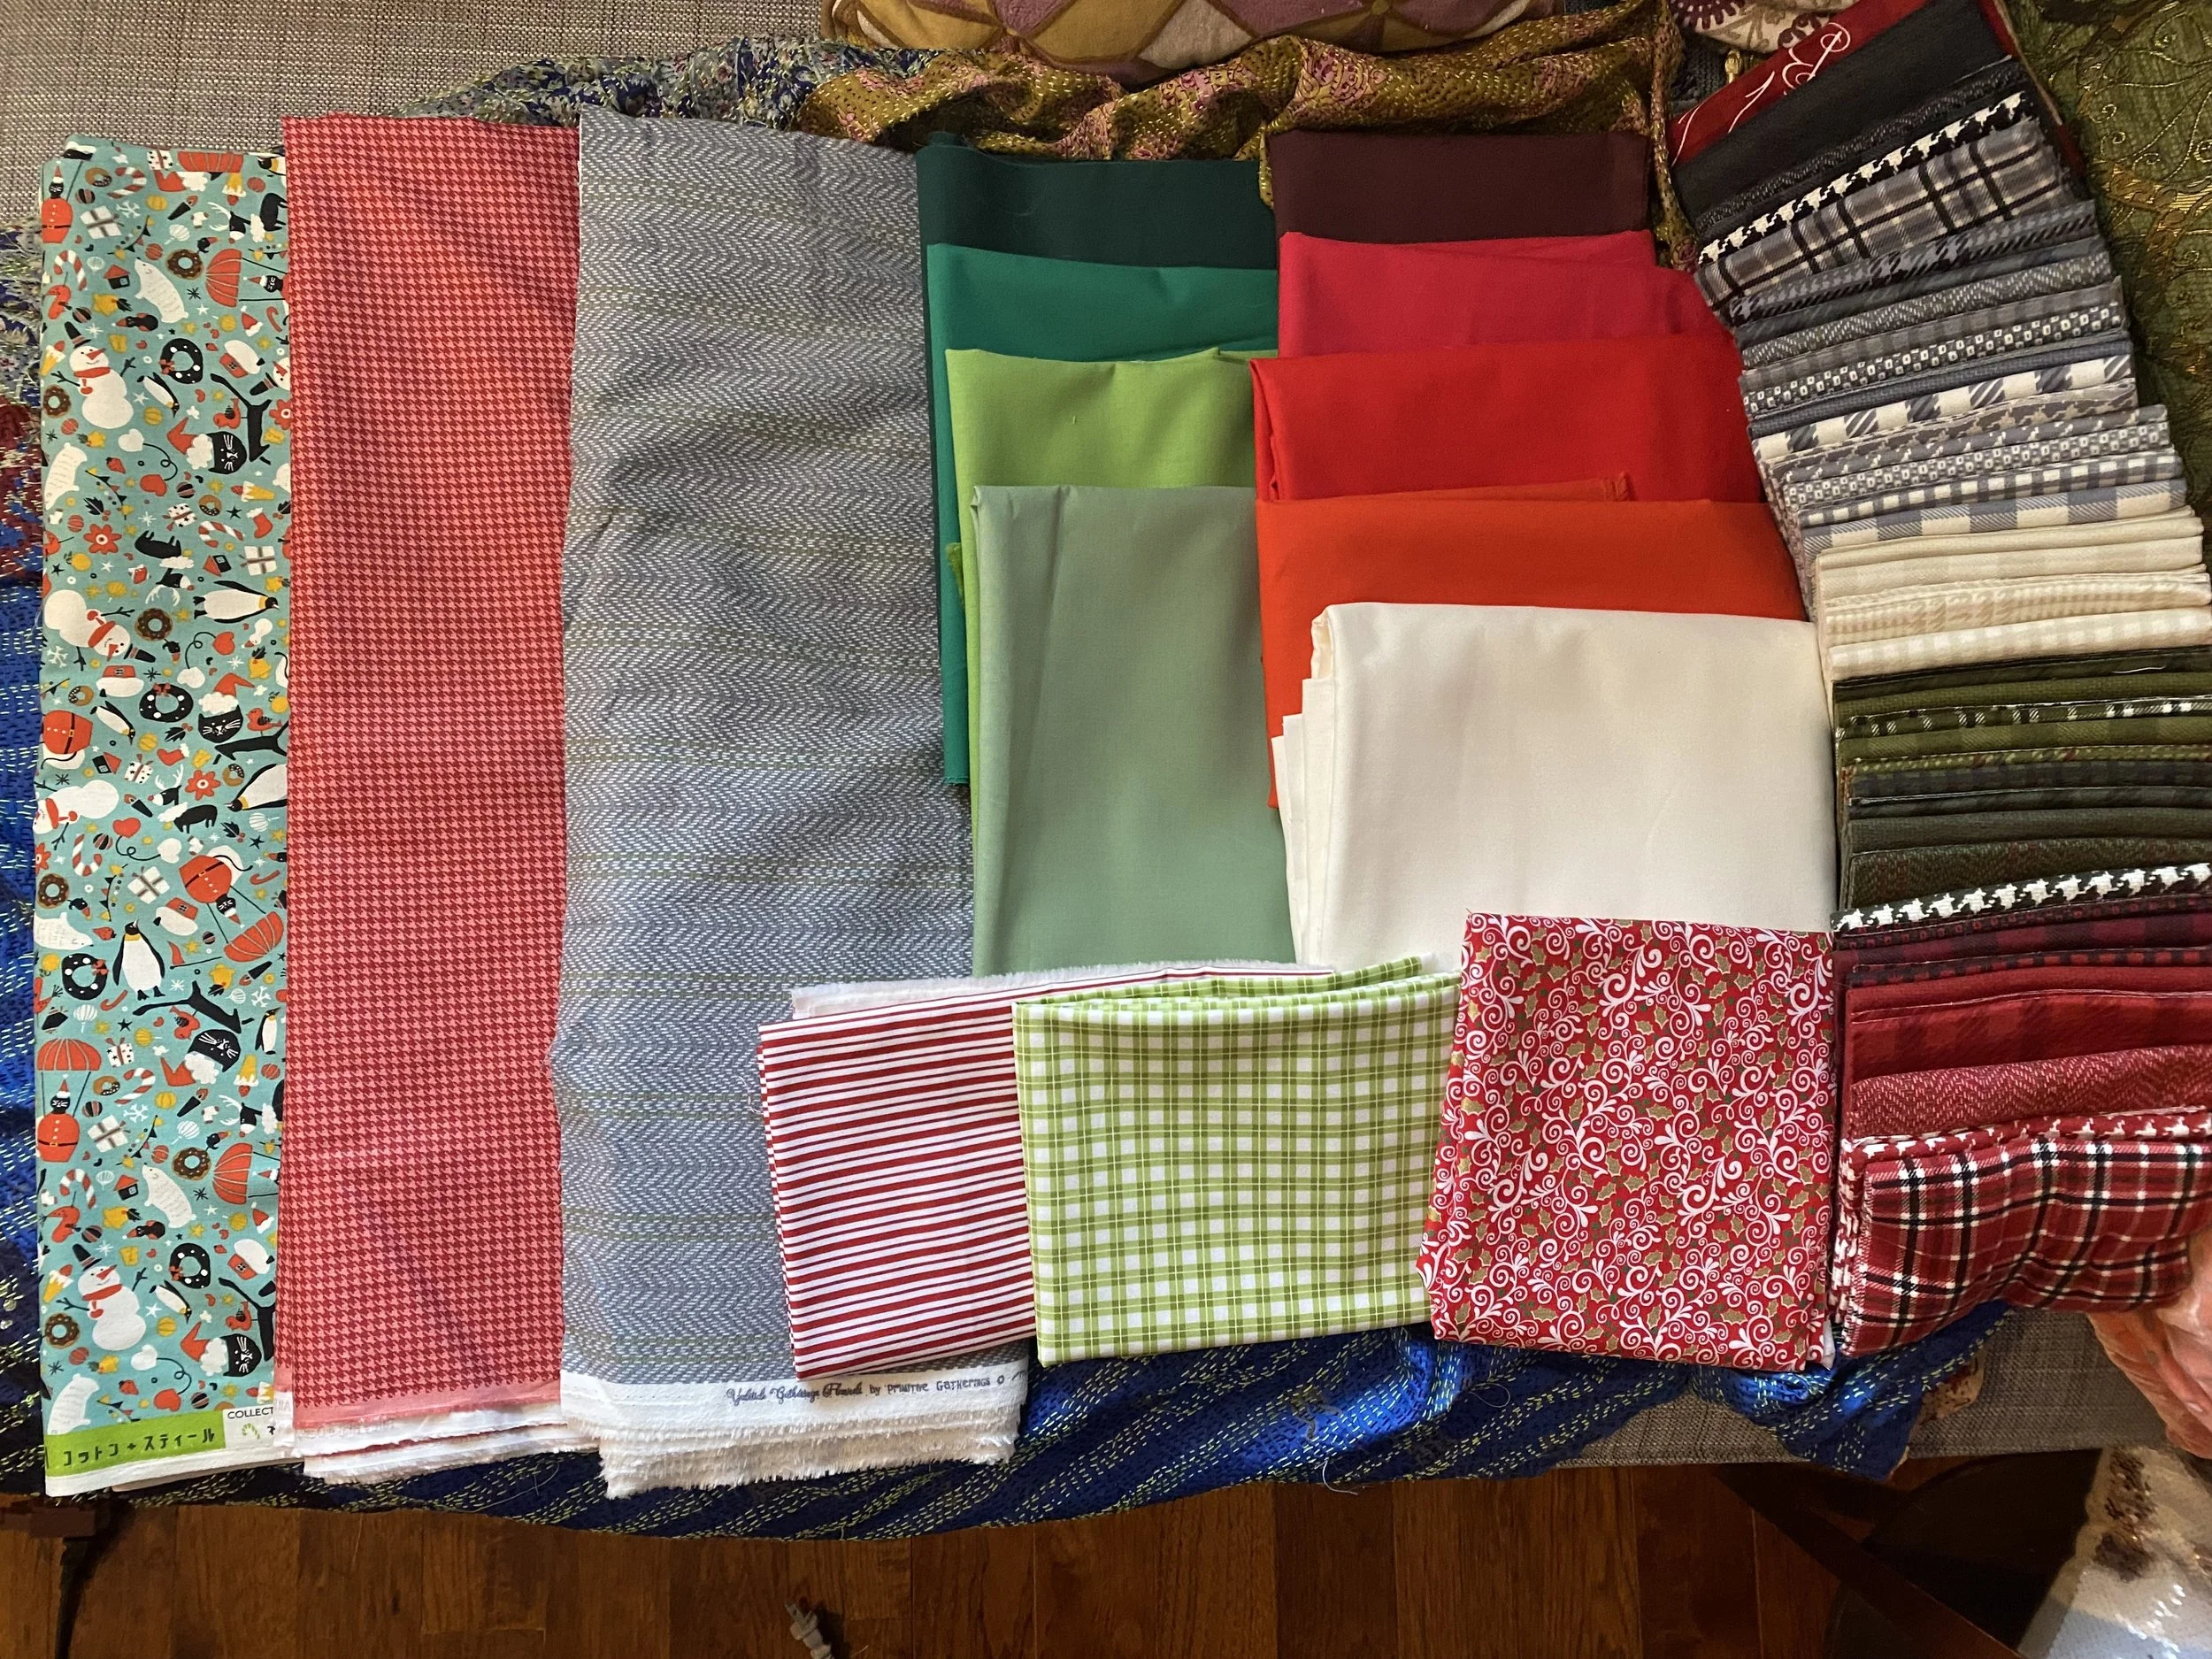
I visited my local sewing store last week with three of my quilts and they were so sweet and complimentary. They even took photos and put them on their Facebook page. They designated me as a quarantine quilter. I have designated myself as a Power Quilter. I am currently on quilts 26 and 27. I also just made a very large purchase of various fabrics for Christmas quilts. In nearly the past two years, my joy for quilting has increased exponentially. I find it meditative and fulfilling. If I could sew all day long, I’d be a happy camper. Well, a happy quilter rather because everyone knows I could never, ever be a happy camper.
Bill had to stop me from buying up all of the quilting swag from my favorite online sewing store in celebration of Quilting Month. They had t-shirts and jewelry. Umbrellas and folding chairs. Hats and notebooks. Pouches and totes. It was a bit of quilting overload so I’m glad he had the good sense to put his foot down. I did get the umbrella though. Adorable!
Quilting is a funny artwork. And it is art by golly. I know, I know. You can find a “quilt” at Crate and Barrel for like $100 and it’s so cool. That’s not a real quilt. It’s a machine-made blanket. It’s fine if that’s what you want, but please don’t call it a quilt. There are various traditional designs that go back centuries. I could go into all of the history and stuff, but you can just go read Wikipedia for that, and it’s kind of boring. I have to admit that I find some of the traditional designs so “grandma-ish” that I hope I never go in that direction, but there are people who modernize them and I find that very appealing.
When I bought fabric for my first quilt, they told me to buy a “charm pack.” This is a pack of 42 5” squares. They also sell “layer cakes,”, which are 10” squares, “jelly rolls” (2.5” strips), “fat quarters” (18”x21” pieces of fabric), “honey buns” (1.5” strips), and “turnovers” (6” triangles). Why the names? No idea. For my first few quilts, I purchased extra wide fabric called quilt backing. Normal fabric comes in a width of about 44” so for a baby blanket, that’s fine, but for anything larger, you either need extra wide fabric or you will need to learn to sew together two pieces of regular fabric. As there are more choices available if you buy regular fabric, you’ll want to learn to sew two pieces together. It can be tricky matching up patterns, but you really can make it look seamless if you are patient and willing to start over if you have to.
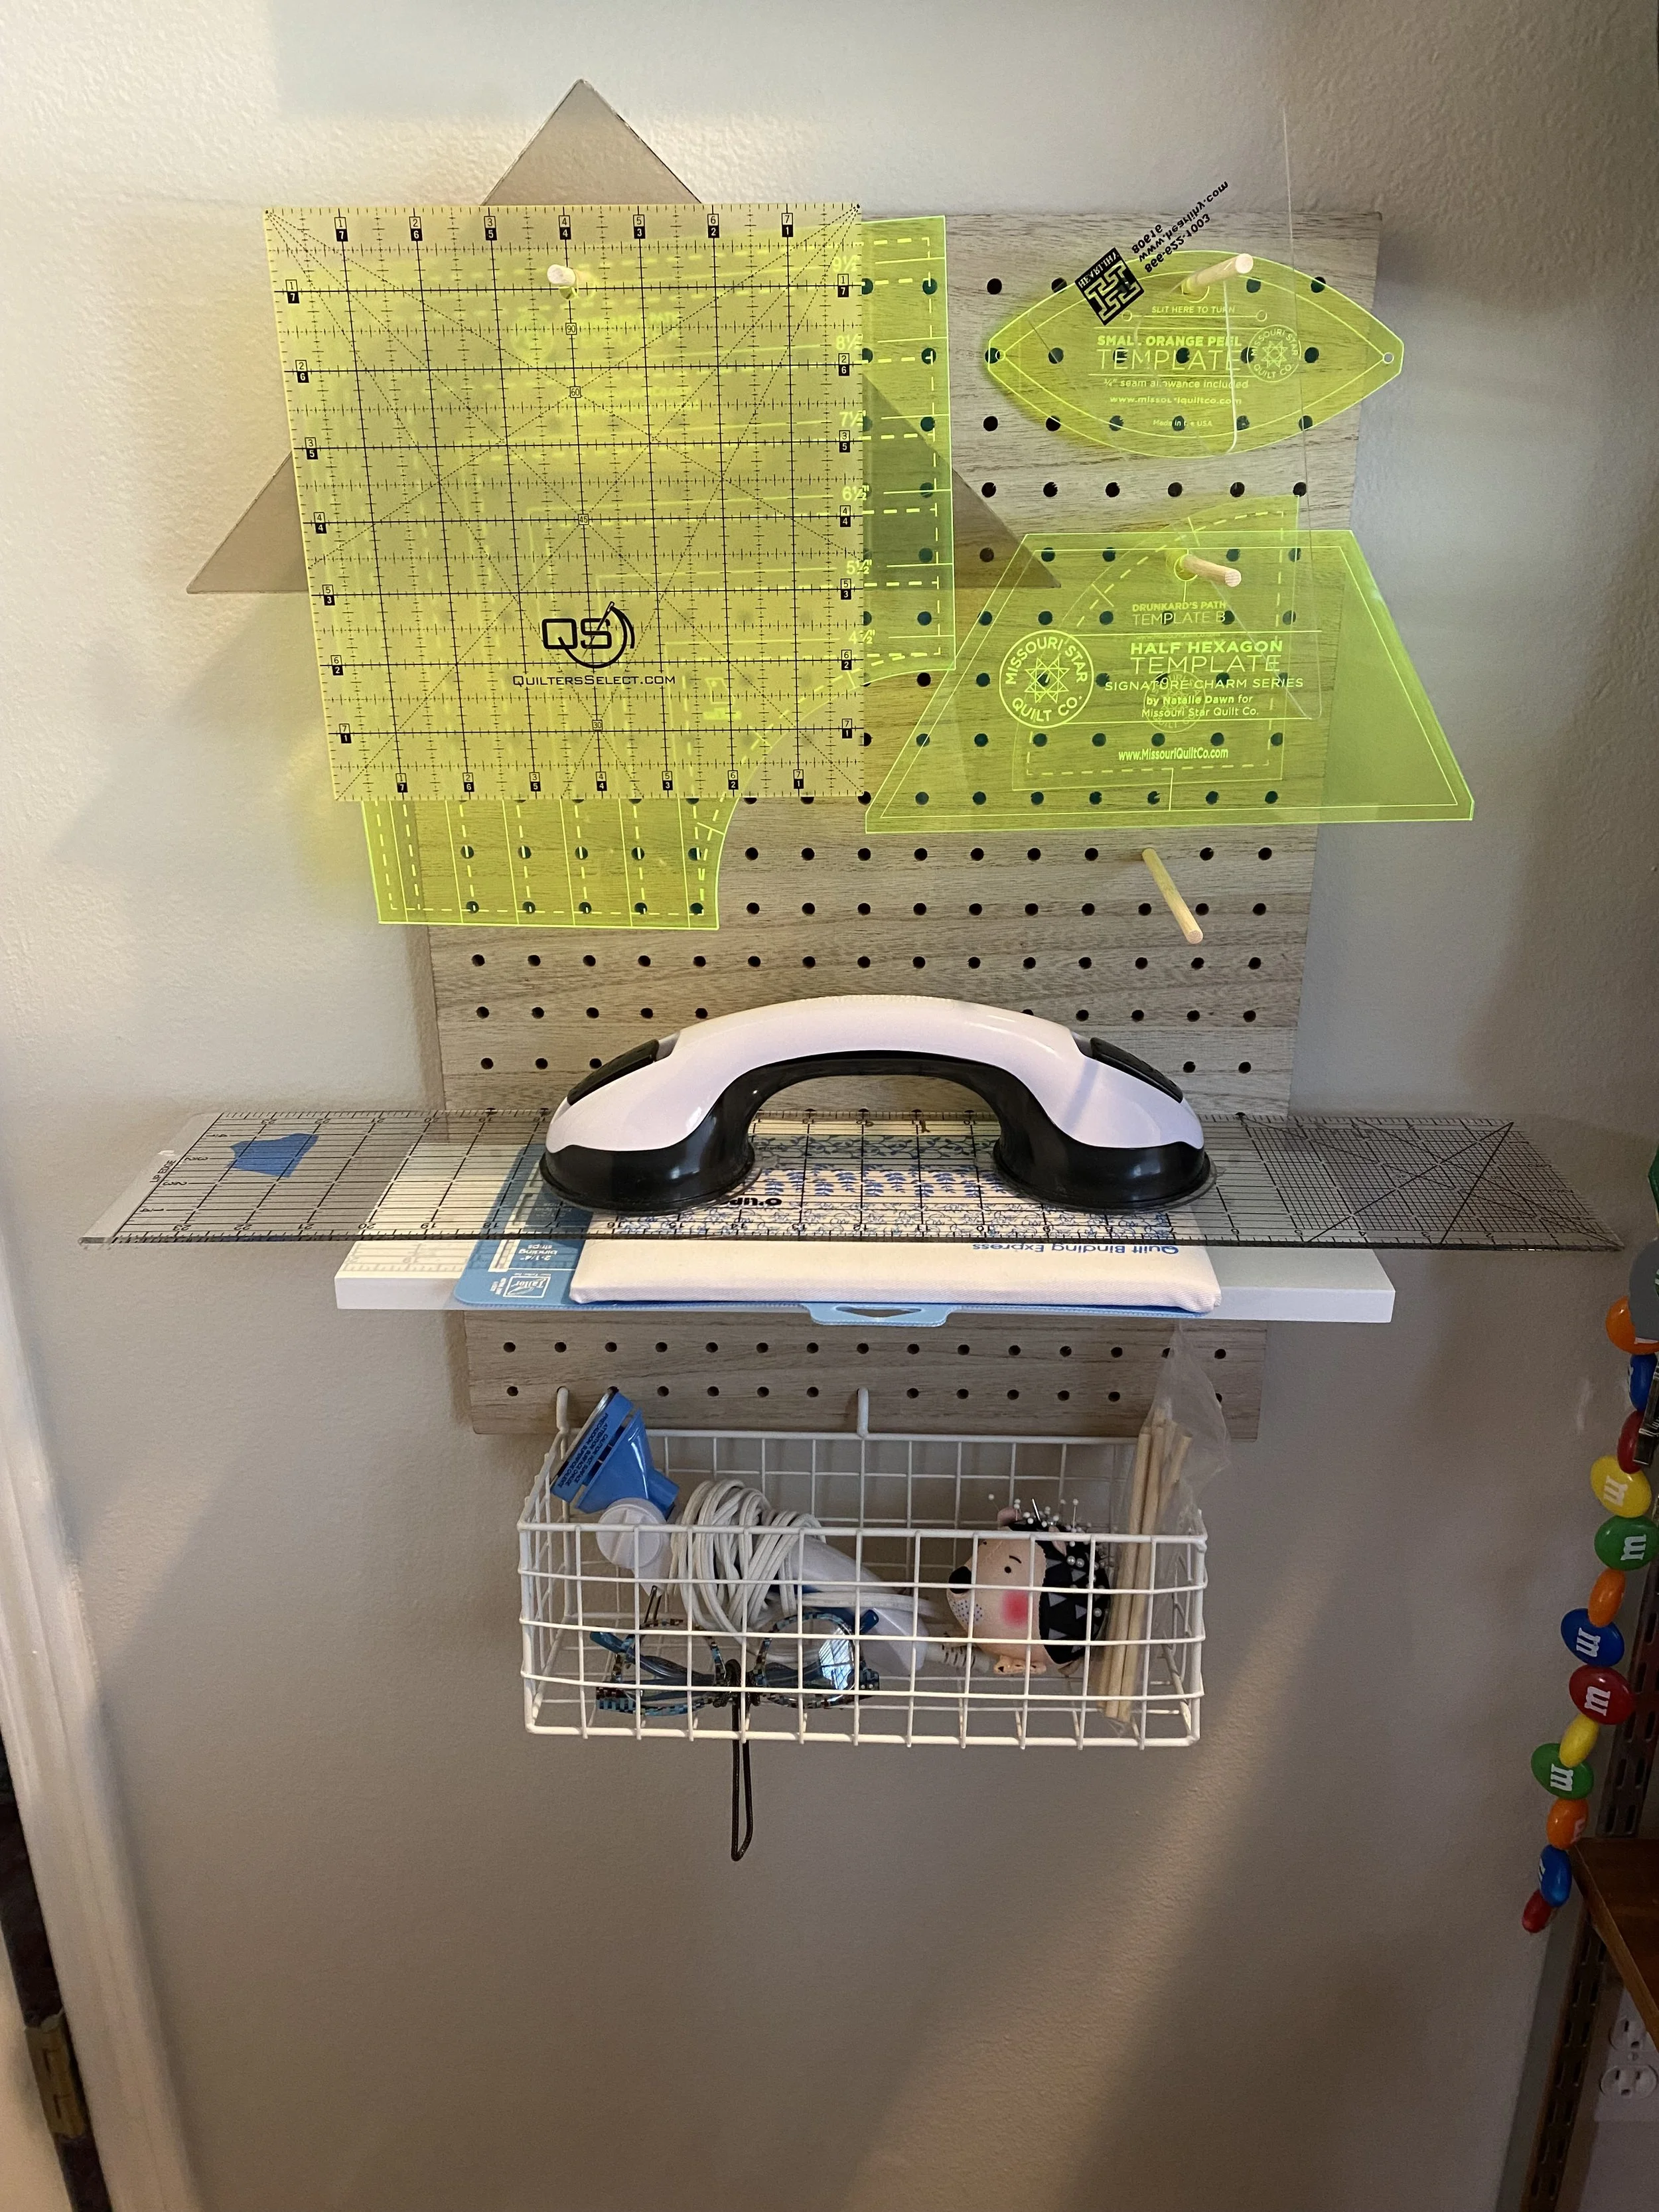
Right now, I like to find really funky backing fabrics and then find a few coordinating solid fabrics to make a design for the front of the quilt. I’m kind of in a triangle phase at the moment, but I just bought a template called a Drunkard’s Path, which makes quarter circles. We will see how that goes.
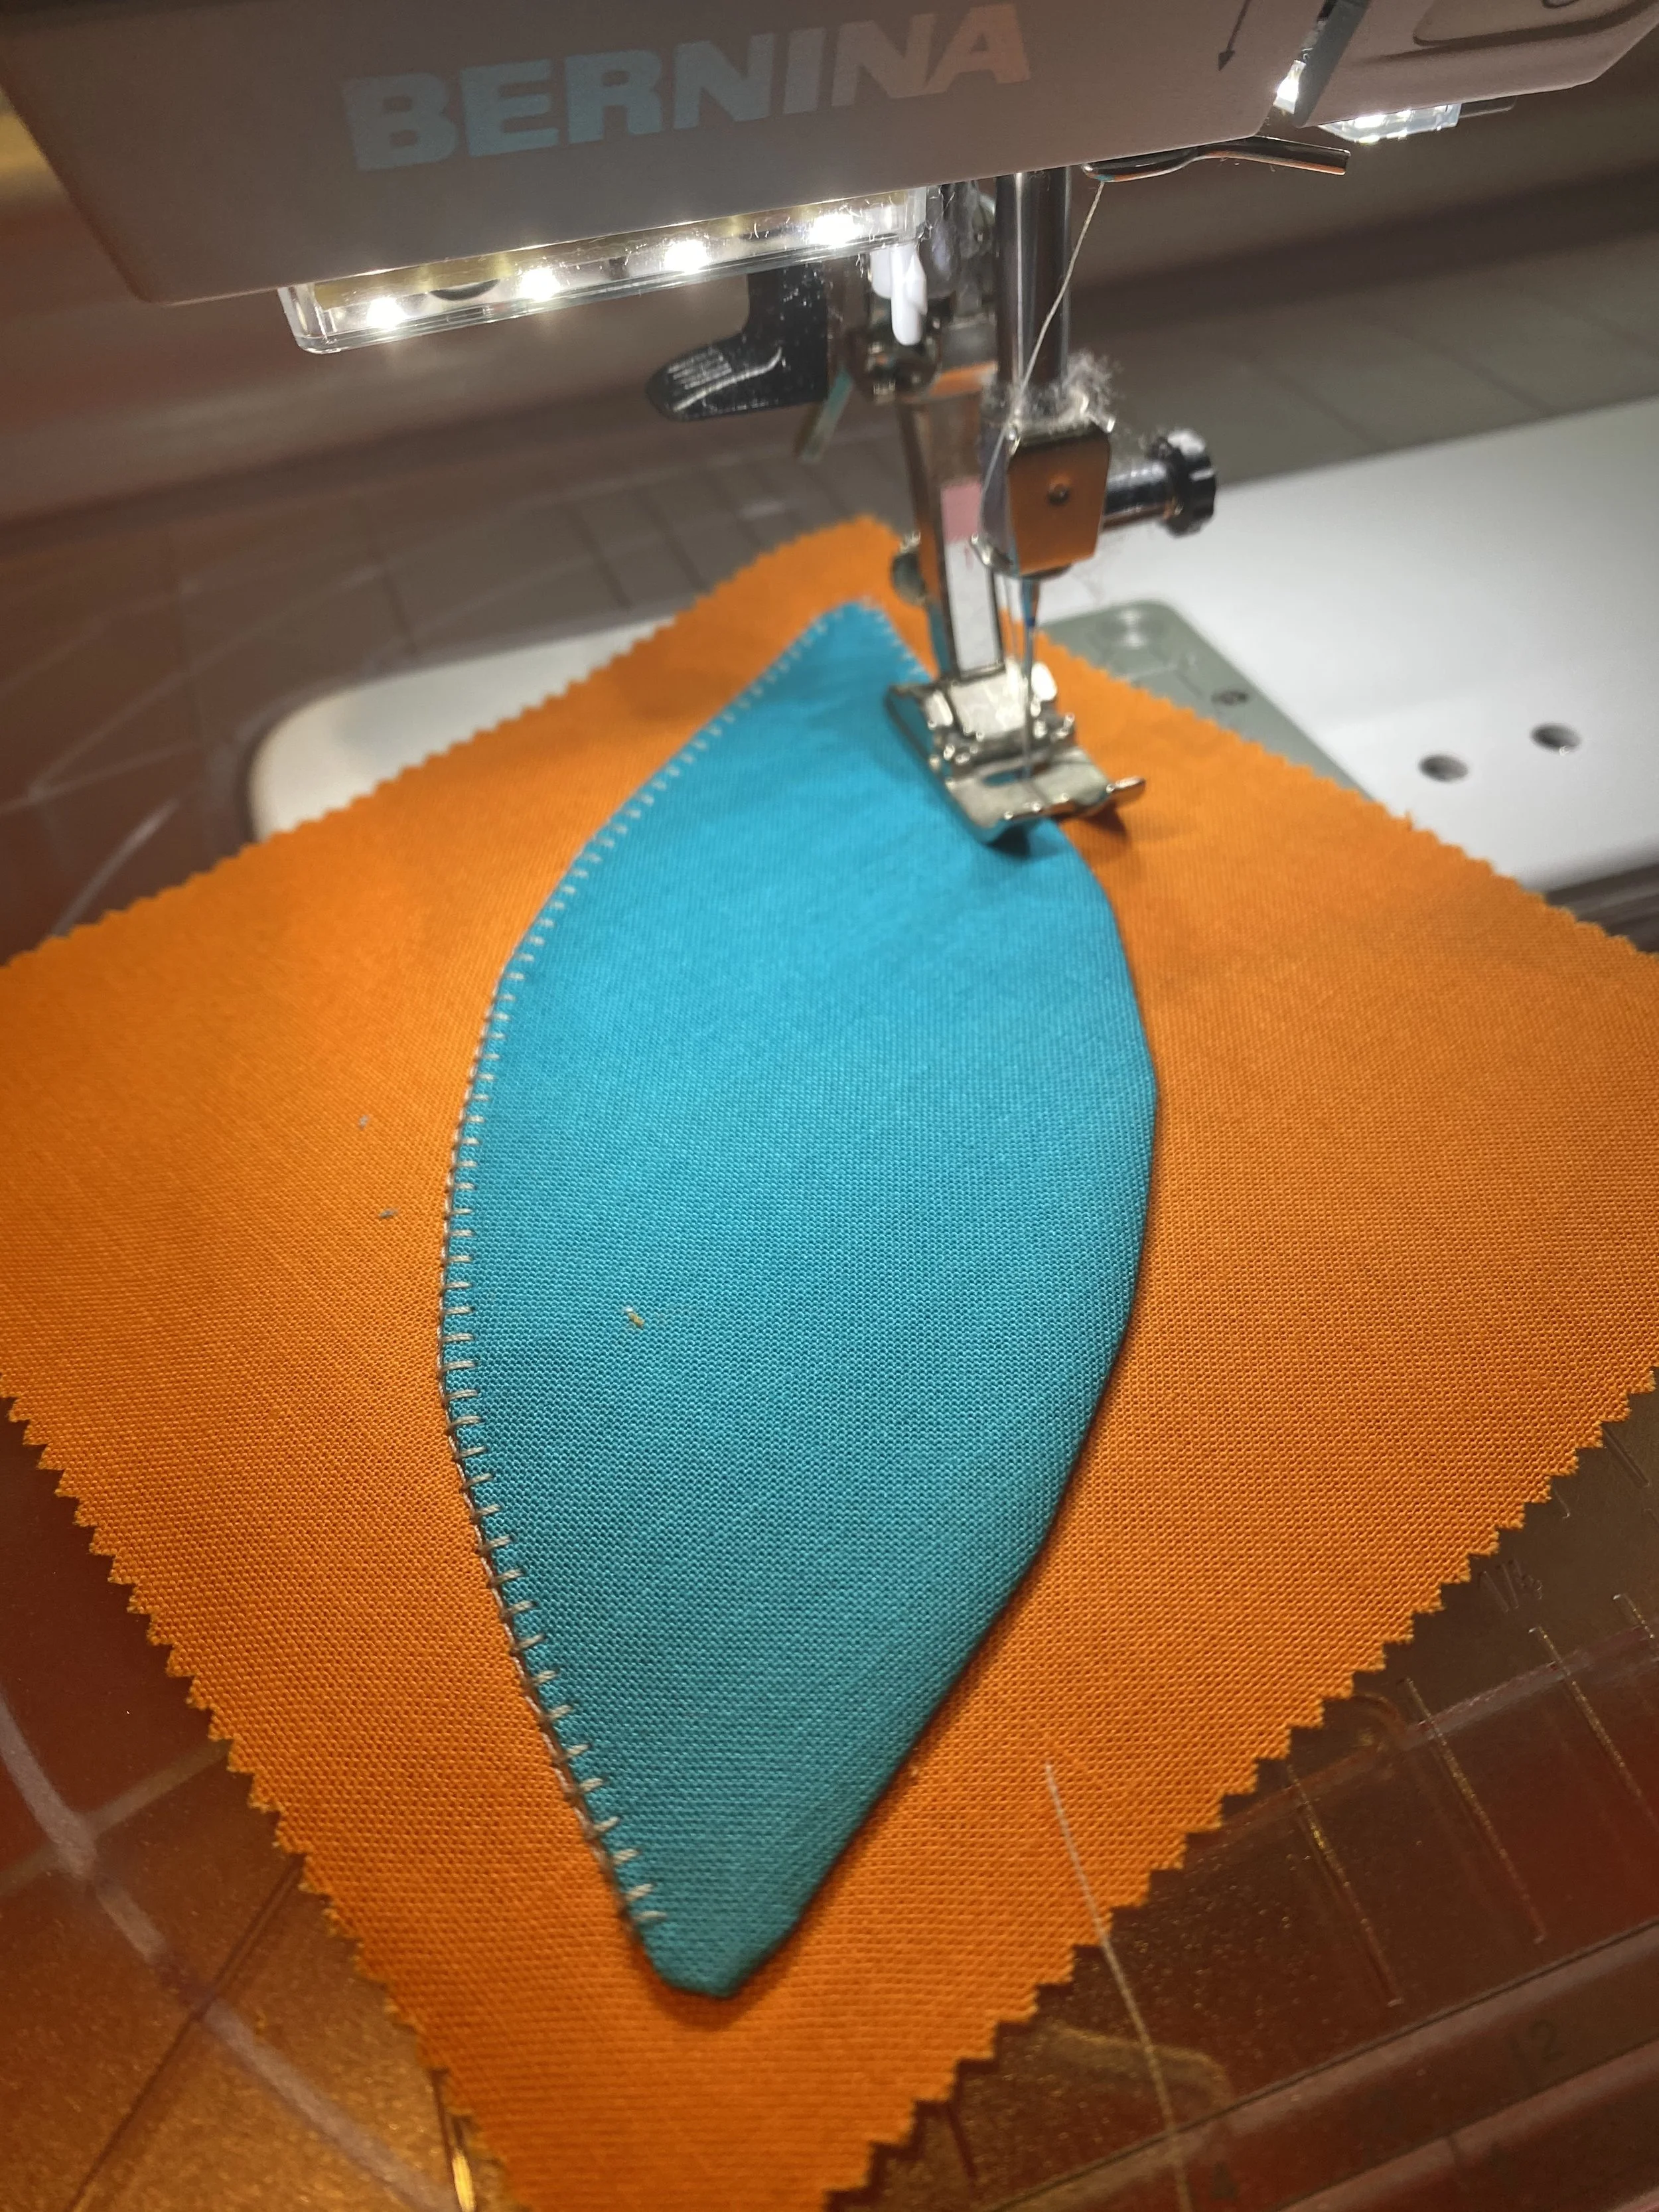
One of the most difficult quilts that I have made was using the orange peel template. I started with 140 5” squares and then using the orange peel template (looks like a leaf), I cut out 140 leaf shapes out of another fabric. Then I cut out 140 leaf shapes from a roll of fusible interfacing. Each piece of interfacing was sewn onto each leaf with the fusible surface facing the fabric. Next, I cut a slit in the interfacing and turned it inside out so the fusible surface was on the outside. Then I pressed each leaf onto each square so it would stick. As if that was not enough, then I used a blanket stitch to sew each leaf to each square. An appliqué. I sewed the squares together, making five columns of two squares each that was 14 rows total. I cut 2 ½” strips that I sewed between each column and at the top and the bottom. It’s a beautiful quilt. And unbelievably, I made two of them without throwing the sewing machine out the window.
I bought a pattern called Heidi’s Hexis Quilt and it also ended up quite cool looking. It’s interesting using a pattern because they tell you exactly how much fabric to buy, what size to cut all of the pieces, how to sew them all together, which direction to press the seams, etc. It makes it all very simple. I’m more inclined to find pictures of quilts or designs I like online and figure out how to put them together. It’s a lot of math and a lot of mistakes. I never know how much fabric to buy so I end up having to go back for more, hoping they haven’t run out. Once, I ran out of my local store-bought fabric and bought some of the same color online. Same brand and everything and it was a slightly different color. It was a little irritating. My fabric estimation skills need some work.
So, there are several parts to making a quilt. There’s the piecing. That’s more for the front of the quilt. Get it? Piecing the fabric together? You can do piecing on the back too, but I haven’t done a lot of that. You can go from simple, like just getting all of the same sized squares and sewing a bunch of rows and then sewing the rows together. Sounds super easy, but fabrics stretch and move and it’s not always easy to keep things lined up. So more flipping patience. Like I said, I’m kind of into the triangle thing right now. You sew two squares, right sides together, diagonally a quarter inch from each side of the middle and then cut down the middle line. Then you have four triangles. I press the seam open, but some people press it to the dark side. Whatever floats your boat. Actually, I’m sure there’s a “right” way to do it, but my quilting is sort of self-taught (or by the Google). There are tons of templates of shapes to piece together. I haven’t gotten to all of that. But I will. I’m sure there’s a lot I should say about piecing here that would make everyone swoon and think I know a whole bunch, but I’m still learning here, folks.
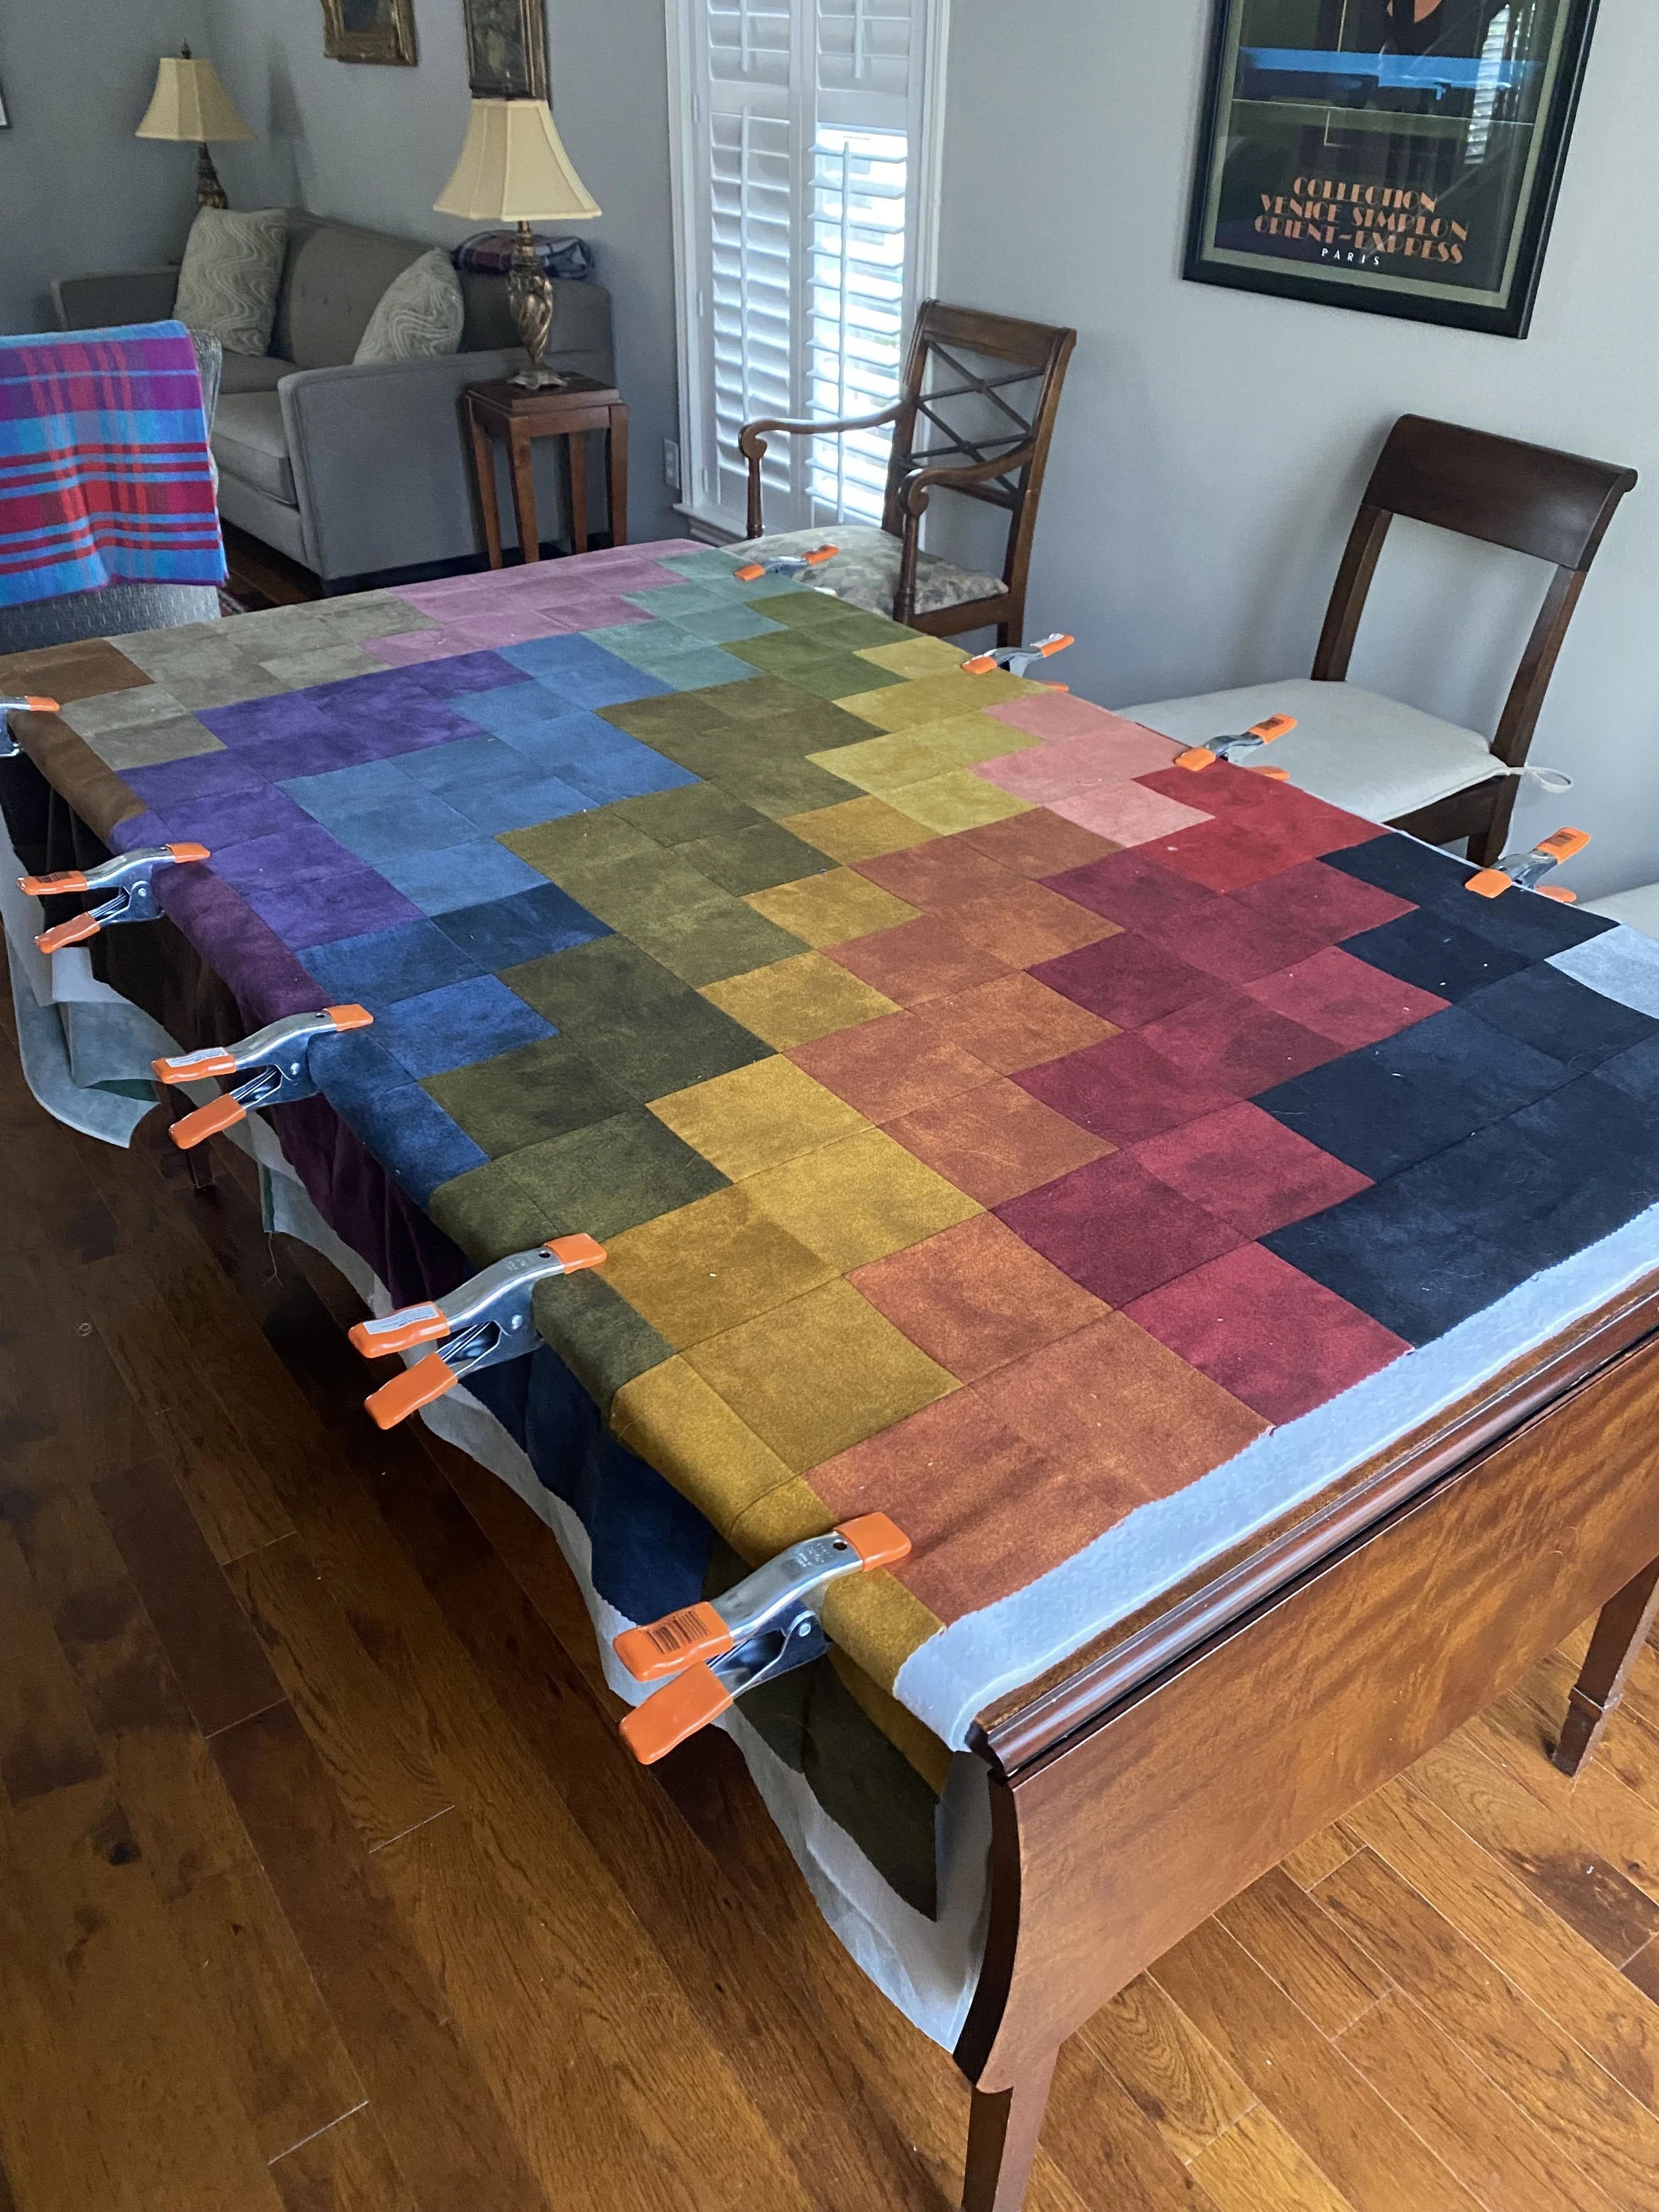
I mentioned the backing piece and choosing to just use a really wide piece of fabric or sewing two pieces together. You have to make sure you press it really well to get all of the wrinkles out. Then I place it, face down, on our dining table, which has now become my quilting table since Covid. I bought 10 spring clamps at Lowe’s and I clamp the fabric on all sides pulling it taught, but not too tight.
That’s when the batting comes in. You can buy all sizes and types of batting. I like a cotton/poly blend that’s needle punched. I make throws mostly so I like buying that size, but you can buy any size and cut it. I’ve recently learned that I can stitch pieces together as to not waste any extra pieces. Just use a wide zig-zag stitch. Easy peasy. Some batting requires that the actual quilting be closer together. I didn’t know this at first so I was just quilting wherever I wanted, but you want to make sure that when you wash the quilt, the batting doesn’t just clump together and move around. The one that I buy allows me to quilt 8” apart so I don’t have to worry too much about that. After the backing fabric is clamped down to your dining table, lay the batting on top, smooth it out and then clamp it down as well.
Next, you put the top of the quilt, right side up, on top, smooth it out and again, clamp it to the table. Now you’ve got your “quilt sandwich.” I like to measure and make sure everything is centered because again, fabric stretches and moves and well, it’s just better if it’s centered I think.
Now come the batting pins. Basically, just safety pins, but get thin ones or you’ll end up with big holes in your fabric and maybe they’ll come out later in the wash, but I just don’t like them, so there. I put a mat on our dining table so the batting pins won’t scratch it when I’m putting them in. You don’t need the mat, but your husband or wife might get pissed when you destroy his or her antique dining table. I like to put in as many pins as possible. At least every square. Be careful not to put them where your quilt lines will be or you’ll be cursing every time you have to take them out while sewing. Of course, the entire quilt may not fit onto the dining table so you may have to remove the clamps once your pins are in and add more pins to the fabric hanging over the side of the table. Be careful to keep everything from bunching up or wrinkling while you do this. Or again, more cursing and seam ripping.
Next, you get to do the actual quilting. Now there are some people who mail the top of their quilt off to a quilt finisher and that person quilts the whole thing and sends it back. I think it’s kind of cheating, but I would totally do it if I were making a giant bedspread because that would be a pain in my ass. I’ve seen all sorts of designs done by professional finishers. One was actually a bunch of guns and ammo. Wtf? I’ve only done straight line quilting. I bought a walking foot and it helps to feed all three layers of fabric through the machine at the same time. Of course, you have to go slowly. Did I mention patience? More flipping patience. I like just following the squares a quarter inch on both sides of the seam. I think it looks clean. It can take me like 20 minutes to do one line across the whole quilt. And let’s say there’s 224 squares. That’s 56 lines! Times 20 minutes! 1120 minutes! Or 18 2/3 hours! Patience. There is also free-motion quilting, which is where you can just go all over the place. Twists and turns, curvy lines. I haven’t done that. I heard it takes practice. I’ll get there.
Lastly, comes the binding. I cut seven 2.5” strips of fabric and sew them together on the bias. Then I fold it and press it in half lengthwise. Clip the binding to the edges of the back of the quilt and sew it in place. Then you fold it over to the front and sew it again. You can sew it with the machine to the front of the quilt and then pull it around to the back and hand sew it into place, but I did that once. Once. Never, ever again. Now I machine quilt it to the back, pull it around to the front and sew it on. With the machine! I don’t have that much patience. It ran out during the quilting portion of our program. You have to be careful not to sew too far in either direction or you’ll end up sewing on the opposite side of the binding or way too far from the binding, leaving an unsightly stitch line. I don’t do it perfectly. Whatever.
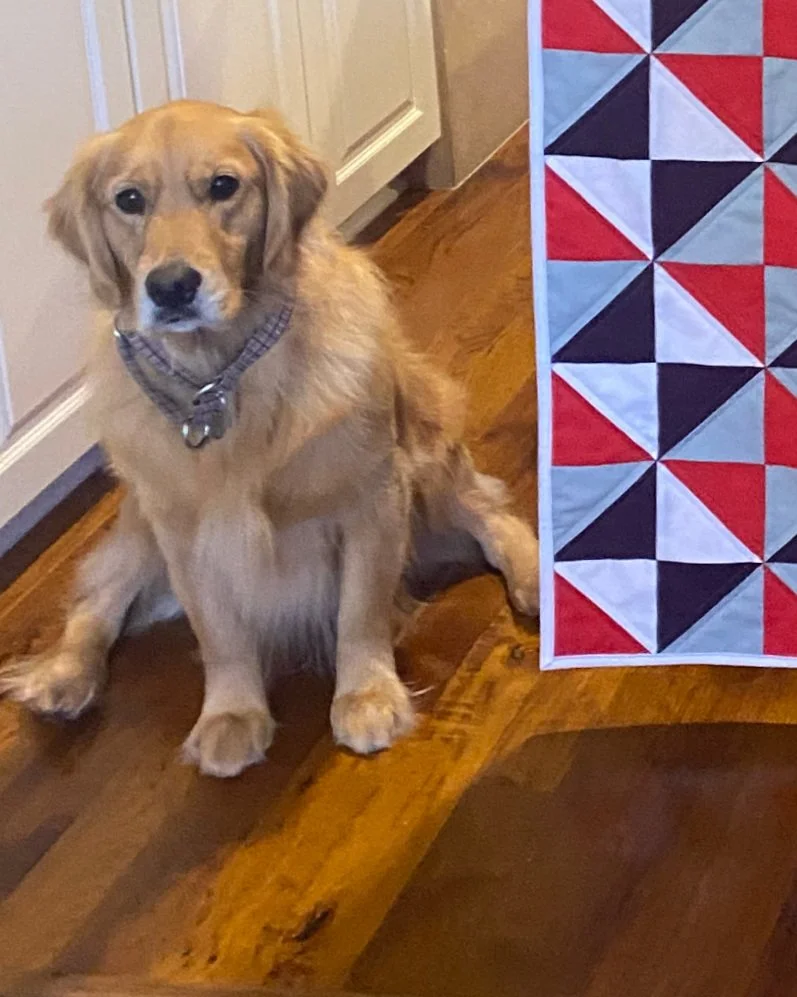
Then you’ve got a quilt! I always take photos of the front and back so I can post them here and remember what I’ve done. Millie has started running up when it’s picture time so she can get in on the action. It’s like it’s her quilt. And to be fair, she does sit with me occasionally while I’m sewing so I can see why she would think she was a part of the process.
I find there’s a small let down period once I’m done so I like to get started on the next one immediately. Sort of like post-Christmas blues. Of course, there’s the joyful part of giving it to someone very special and hoping they enjoy it. That’s fun. Unless they think all quilts come from Crate and Barrel and they just toss it in the throw bin instead of appreciating the hours (and hours and hours and hours) of work you put into it. But I haven’t had that experience. Or maybe they waited until I left. And then that’s not my business.
To me, a quilt is love and art and expression and joy and therapy and just my thing right now. I enjoy it very much (I do wish there were some way to add my cardio in there though). I would love to have enough time and money to make everyone I know a quilt. Maybe I’ll get there someday. With some more patience.
My super badass Snap-on supply toolbox, which my brother, Nik, powder coated pink


